
DIY Kids: Make an Easy A-Frame Tent
Summer vacation is all about fun: swimming pools, later bedtimes, and epic blanket forts. With all the lively activity, it’s hard to sell the idea of settling down to read a little every day in an effort to keep those hard-earned schoolyear skills from slowly melting like the chocolate in a s’more. To drum up some excitement, I designed an A-frame reading tent from furring strips and dowels that the kids and I could assemble together—a project meant to combine their passion for building forts with my hope for a little extra time devoted to summer reading. Follow these instructions, and your kids, too, will have a hideaway that will make them want to spend more time curled up with library books than gaming on the couch!
SKILL LEVEL: EASY TO MODERATE
This project is appropriate for kids of all ages, but it does require some use of power tools. If your kids are young, cut the lumber prior to working on the project with them and do the drilling yourself; they can help with the measuring and sanding. Kids as old as 8 or 9, on the other hand, might be able to handle the drill with your supervision. Use your judgment, and have fun.
TOOLS & MATERIALS
- Three 8-foot-long 1"x2" furring strips (cut into six 4-foot pieces)
- Tape measure
- Pencil
- Safety glasses
- Drill with 3/4” spade bit
- Sandpaper
- Three 4-foot-long 3/4” dowels
- Twin- or full-size bedsheet
- Scissors
- 1/4” eyelet tool
- 1/4” eyelets
- Hammer
- Parachute cord STEP 1
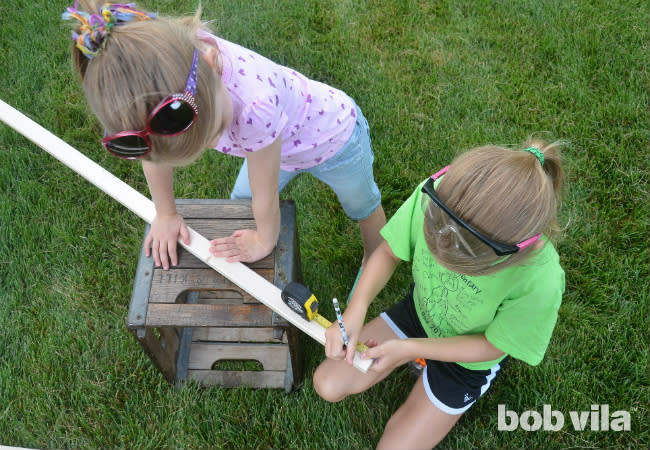
Halve each 8-foot furring strip into two 4-foot lengths. (You can get this done at the big-box hardware store where you pick up your lumber, or make the cuts at home.) Then, on every 4-foot length of furring strip, mark placement for holes about 1 3/4 inches from each end of the board—a great task for the kids. STEP 2

Next, drill through the marks to make 3/4-inch-diameter holes at the ends of each length of board; smooth over any rough edges on your furring strips using sandpaper. STEP 3
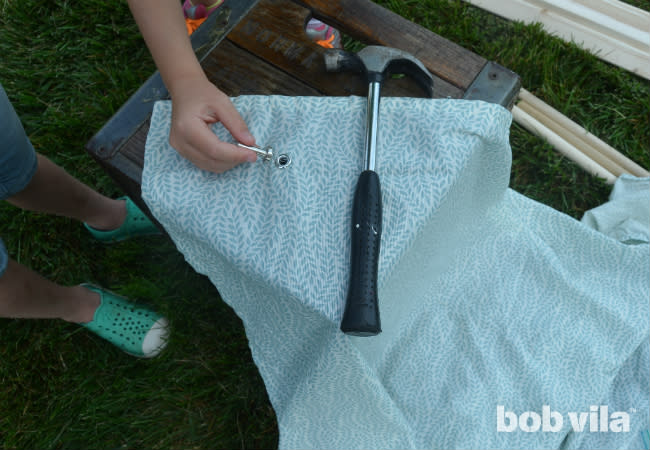
Ready the flat sheet (the tent's cover) so it can attach to the bottom of each side of the tent frame. (A twin sheet works best here because it leaves the least amount of excess fabric, but any old bedsheet you have to spare will serve just fine.) To keep the sheet from fraying after a trip through the washing machine, we're using some metal eyelets. A single eyelet tool is easy to use and fairly inexpensive to pick up at a big-box or craft store—beyond that, all you need are scissors and a hammer.
First, flip the sheet so that it's right side up and you're working with one of the shorter sides. Measure and mark for eyelets every 12 inches or so, about 3 to 4 inches in from the edge; cut a small hole at each spot with scissors. Place the base of the eyelet tool with the large half of the eyelet under the hole, and fit it through. Then, set the second half of the eyelet on top, and hammer the pieces together with the top of the eyelet tool. STEP 4
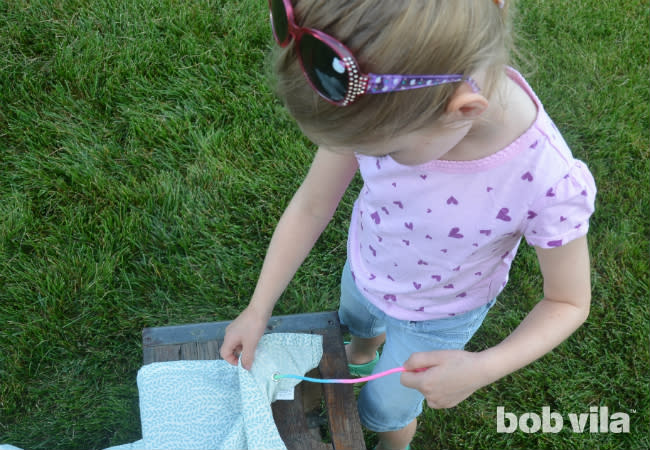
Cut 12- to 18-inch lengths of the parachute cord—as many lengths as you have eyelets—and put large knots at the end of each. String each cord all the way through an eyelet from behind the sheet, and tie it again on the other side so the eyelet is secure between two big knots. You should have several inches of cord left hanging, which you'll use later to tie around the tent frame. STEP 5

On the ground, lay out the square base for the tent: two parallel furring strips connected by two dowels. To "fasten" them together, thread each dowel through the holes at the ends of the furring strips. (This no-hardware assembly makes it even easier to collapse for storage!) STEP 6
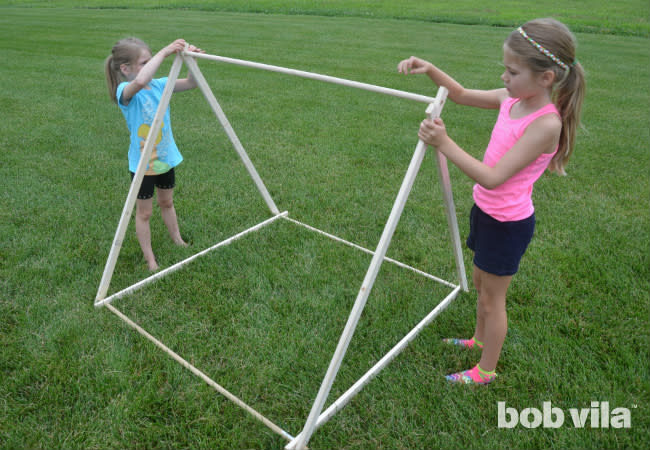
Divide the last four pieces of furring strips into two sets of two; each set connects to the base to form the A-frame entrances at the front and back of the tent. Start at one entrance, and attach a furring strip to both corners by fitting the drilled hole into the dowel at the base. Then, bring the furring strips together at point, match up the holes on the ends, and slide the last dowel into the hole to hold them together. Repeat on the other side, attaching the last two furring strips to the dowels at the base. STEP 7
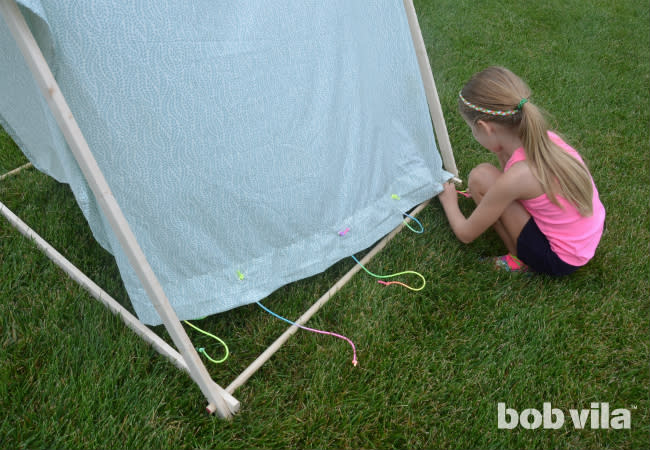
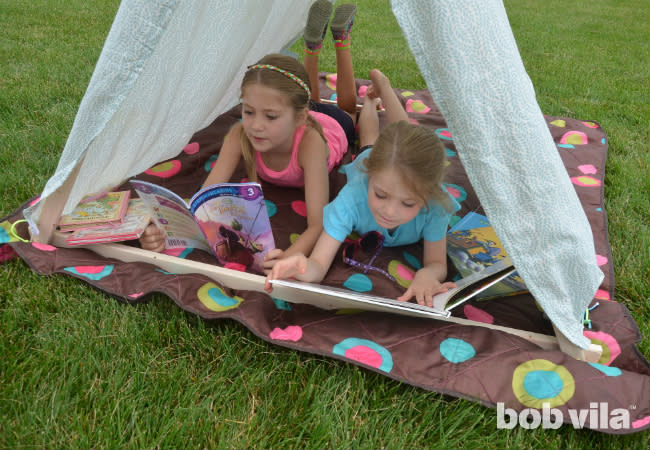
Throw the sheet over the frame and tie it down on each side. Let the reading and other tent-worthy summertime shenanigans begin!
When you’re done for the day, you can take the pieces apart and roll them up into the sheet, then simply wrap the cords around the bundle and tie to keep it tidy. But, for the record, my kids don’t want to take it down. In fact, they want to make another one so they can each have one in their bedrooms! Luckily, with a project this easy and inexpensive, an extra A-frame is totally achievable.

Related Articles

